16 Best Effective methods:
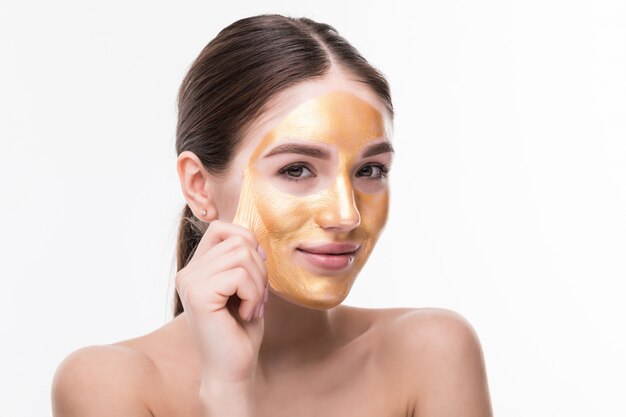
Hydrating Honey Face Mask: Nourish Your Skin in Winter’s Embrace
As the winter chill sets in, our skin often bears the brunt of dryness and dullness. Combat these seasonal challenges with a DIY hydrating honey face mask. Honey, renowned for its natural humectant properties, partners with soothing yogurt to create a simple yet effective mask that leaves your skin radiant and moisturized. This rejuvenating mask fights off the effects of winter dryness, offering a spa-like experience in the comfort of your own home.
The Power of Honey and Yogurt
Honey’s Humectant Properties: Honey acts as a humectant, helping the skin retain moisture and combat winter dryness.
Soothing Effect of Yogurt: Yogurt provides a gentle and soothing effect, contributing to the overall calming sensation of the mask.
DIY Hydrating Honey Face Mask
Ingredients:
- 1 tablespoon of honey
- Yogurt (a small amount)
Mixing Process:
- Mix honey with a bit of yogurt to create a smooth and consistent blend.
Application:
- Gently apply the mask across your face, ensuring even coverage while being careful to avoid the sensitive eye area.
Relaxation Time:
- Allow the mask to work its magic by leaving it on for a duration of 15-20 minutes. This will give the nourishing ingredients ample time to rejuvenate your skin.
Rinse Off:
- Rinse your face with warm water to reveal revitalized and moisturized skin.
Why It’s a Winter Essential
Moisture Retention: Honey’s humectant properties help your skin retain moisture, essential during winter’s dry months.
Soothing Relief: The combination of honey and yogurt provides a soothing and calming effect on irritated winter skin.
Radiant Glow: Regular use of this mask enhances your skin’s radiance, combating the dullness associated with winter.
Rosewater Toner: Revitalize Your Skin’s Radiance
Refresh your skin and maintain a healthy complexion with a DIY rosewater toner. By mixing rosewater with a touch of witch hazel, this natural toner hydrates and tones your skin, leaving it revitalized. Incorporate this rosewater toner into your skincare routine to combat dryness and maintain a healthy pH balance during the winter season.
Benefits of Rosewater for Your Skin
Hydration: Rosewater is a natural hydrator, preventing dryness.
Balancing pH: It helps maintain the skin’s natural pH balance, promoting overall health.
Anti-Inflammatory: Rosewater has anti-inflammatory properties, soothing irritated skin.
DIY Rosewater Toner Recipe
Ingredients:
- Rosewater
- Witch hazel
Mixing Process:
- Combine rosewater with a touch of witch hazel in a clean bottle.
Application:
- Using a cotton pad, evenly apply the toner to your face.
Refreshing Effect:
- Feel the refreshing and hydrating effect on your skin.
Why It’s a Winter Skincare Necessity
Hydrating Boost: Rosewater provides essential hydration, combating winter dryness.
Toning Properties: Tones and tightens the skin, promoting a youthful appearance.
Gentle on Skin: Witch hazel adds a gentle astringent touch without causing irritation.
Cocoa Butter Lip Balm: Banish Winter Woes for Your Lips
Chapped lips are a common woe during winter, but you can bid them farewell with a homemade cocoa butter lip balm. This delightful concoction, enriched with the goodness of cocoa butter and coconut oil, provides a boost of hydration and protection against winter dryness. Pamper your lips with this natural balm, and they will thank you for the nourishing care.
Ingredients for Perfectly Hydrated Lips
Cocoa Butter’s Hydrating Properties: Cocoa butter is a rich emollient that deeply moisturizes and nourishes dry lips.
Coconut Oil’s Protective Barrier: Coconut oil forms a protective barrier, preventing further moisture loss and keeping lips supple.
Peppermint Oil’s Refreshing Touch: A drop of peppermint oil adds a refreshing and invigorating element to the lip balm.
DIY Cocoa Butter Lip Balm
Ingredients:
- Cocoa butter
- Coconut oil
- Peppermint essential oil
Melting and Mixing:
- Melt cocoa butter and coconut oil together, then add a drop of peppermint oil to the mixture.
Pour into Containers:
- Pour the melted mixture into small containers and let it solidify.
Application:
- Apply this natural balm to your lips whenever needed for soft, hydrated, and protected lips.
Why Your Lips Will Thank You
Deep Hydration: Cocoa butter and coconut oil work in tandem to provide deep hydration to dry and chapped lips.
Protective Barrier: The lip balm forms a protective barrier, shielding your lips from harsh winter conditions.
Refreshing Sensation: The addition of peppermint oil adds a refreshing touch, making the application a delightful experience.
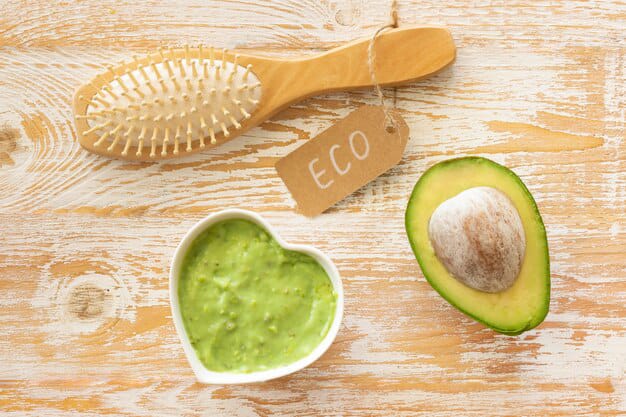
Nourishing Avocado Hair Mask: Revitalize Your Locks
Give your winter-weary hair a much-needed boost with a nourishing avocado hair mask. Mashing a ripe avocado and combining it with olive oil creates a deep-conditioning treatment that infuses your hair with essential moisture and nutrients. This DIY mask is a luxurious remedy for dry and damaged winter hair, leaving it soft, shiny, and healthy.
Benefits of Avocado and Olive Oil
Avocado’s Nutrient-Rich Composition: Avocado is rich in vitamins, minerals, and fatty acids that nourish and strengthen hair.
Olive Oil’s Moisturizing Power: Olive oil provides deep hydration, combating the dryness often intensified by winter weather.
DIY Nourishing Avocado Hair Mask
Ingredients:
- 1 ripe avocado
- Olive oil
Mixing Process:
- Mash the ripe avocado and mix it with olive oil to create a creamy consistency.
Application:
- Apply the mask to damp hair, focusing on the ends where dryness is often more pronounced.
Treatment Duration:
- Allow the mask to remain on your hair for a period of 30 minutes, enabling the nutrients to deeply penetrate and nourish your hair.
Rinse Out:
- Wash the mask out with your regular shampoo, revealing revitalized and nourished locks.
Why Your Hair Will Love It
Intensive Moisturization: The combination of avocado and olive oil deeply moisturizes and revitalizes dry winter hair.
Nutrient Infusion: Avocado’s rich nutrient composition provides essential vitamins and minerals for healthier hair.
Lustrous Shine: Regular use of this mask enhances the natural shine of your hair, even during the harsh winter months.
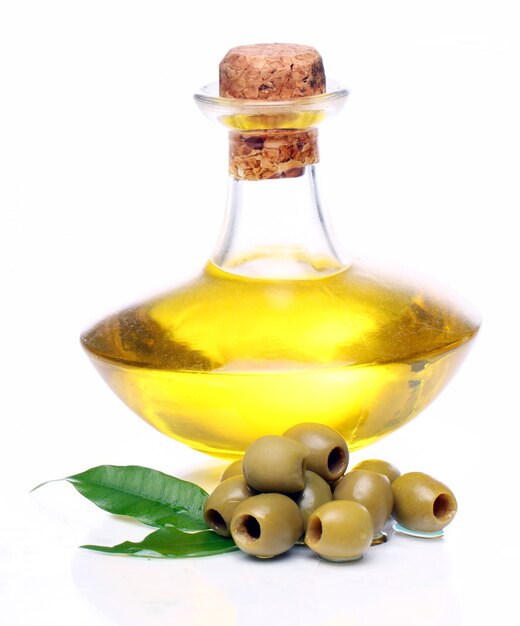
Warm Olive Oil Nail Soak: Tender Loving Care for Your Nails
Don’t neglect your nails and cuticles during the winter months. Pamper them with a warm olive oil soak, a simple yet effective treatment to prevent winter-induced nail brittleness and keep your nails and cuticles healthy and moisturized.
The Benefits of Olive Oil for Nails
Moisturization and Conditioning: Olive oil deeply moisturizes and conditions both nails and cuticles.
Preventing Nail Brittleness: The warm soak helps prevent the brittleness that can occur due to cold and dry winter weather.
DIY Warm Olive Oil Nail Soak
Heat Olive Oil:
- Heat a small amount of olive oil to a comfortable temperature.
Soak Nails:
- Soak your nails in the warm olive oil for 10-15 minutes.
Massage Cuticles:
- Gently massage the warm oil into your cuticles to promote absorption.
Repeat Regularly:
- Incorporate this simple treatment into your routine regularly for healthy and moisturized nails.
Why Your Nails Deserve This Treat
Prevent Brittle Nails: The warm olive oil soak helps prevent nail brittleness, a common issue during winter.
Deep Moisturization: Nails and cuticles benefit from the deep moisturization provided by the warm olive oil.
Healthy Nail Growth: Regular use promotes healthy nail growth and overall nail well-being.

Peppermint Foot Soak: Revitalize Tired Feet
After a long day, treat your tired feet to a refreshing peppermint foot soak. Combining Epsom salt, peppermint oil, and a splash of chamomile tea in warm water creates a DIY spa treatment that soothes tired muscles and rejuvenates your feet. This simple yet effective foot soak is a delightful way to relax and care for your feet during the winter season.
Benefits of the Peppermint Foot Soak
Soothing Epsom Salt: Epsom salt helps soothe tired muscles and reduce swelling.
Invigorating Peppermint Oil: Peppermint oil provides an invigorating and refreshing sensation to tired feet.
Chamomile’s Relaxing Touch: Chamomile tea adds a touch of relaxation to the foot soak.
DIY Peppermint Foot Soak
Prepare the Foot Soak:
- Fill a basin with warm water.
Add Ingredients:
- Add Epsom salt, a few drops of peppermint oil, and a splash of chamomile tea to the warm water.
Soak Your Feet:
- Immerse your feet in the soothing mixture for 15-20 minutes.
Pat Dry:
- Gently pat your feet dry and feel the revitalizing effects.
Why Your Feet Will Love It
Soothing Muscle Relief: Epsom salt soothes tired muscles, providing relief after a long day.
Invigorating Peppermint: Peppermint oil adds an invigorating touch, leaving your feet feeling refreshed.
Relaxation with Chamomile: The addition of chamomile tea enhances the relaxation, making it a perfect bedtime ritual.

Oatmeal and Milk Bath: Indulge in Luxurious Hydration
Indulge in a luxurious bath experience to soothe and hydrate winter-parched skin. Adding oats and milk to your bathwater creates a calming and moisturizing effect, providing a spa-like experience in the comfort of your own home. This ritual is perfect for relaxing and nourishing your skin during the colder months, leaving you with a sense of tranquility and well-being.
Skin Benefits of Oatmeal and Milk:
Soothing Oatmeal: Oats have soothing properties, making them ideal for calming irritated and dry skin.
Hydrating Milk: Milk is known for its hydrating properties, leaving the skin soft and moisturized.
DIY Oatmeal and Milk Bath
Prepare the Bath:
- Run a warm bath to your liking.
Add Ingredients:
- Add oats and a splash of milk to the bathwater.
Soak and Relax:
- Immerse yourself in the bath, allowing the oats and milk to work their magic.
Pat Dry:
- Gently pat your skin dry after the bath to retain the moisturizing effects.
Why Your Skin Will Thank You
Soothing Irritated Skin: Oatmeal’s soothing properties make this bath ideal for calming irritated winter skin.
Hydration Boost: Milk adds a hydrating element, leaving your skin feeling soft and moisturized.
Tranquil Bath Experience: The combination of oats and milk creates a spa-like experience, promoting relaxation and well-being.

Vitamin C Boosting Face Serum: Combat Dullness with Radiance
Brighten and rejuvenate dull winter skin with a DIY face serum infused with the power of vitamin C. Mixing rosehip oil with vitamin C powder creates a potent antioxidant serum that promotes a natural, healthy glow. This vitamin C serum is a powerhouse against the effects of winter on your skin, leaving it looking vibrant and refreshed.
The Dynamic Duo: Rosehip Oil and Vitamin C
Rosehip Oil’s Nourishing Properties: Rosehip oil is rich in vitamins and essential fatty acids that nourish and hydrate the skin.
Vitamin C’s Antioxidant Power: Vitamin C is a powerful antioxidant that helps fight free radicals, promoting brighter and healthier skin.
DIY Vitamin C Boosting Face Serum
Ingredients:
- Rosehip oil
- Vitamin C powder
Mixing Process:
- Mix a small amount of vitamin C powder with rosehip oil to create a serum.
Application:
- Apply a small amount to your face before your moisturizer.
Enjoy the Glow:
- Revel in the natural, healthy glow that this serum brings to your skin.
Why Your Skin Will Love It
Nourishment with Rosehip Oil: Rosehip oil provides essential nutrients, promoting nourished and hydrated skin.
Antioxidant Protection: Vitamin C’s antioxidant properties help protect your skin from environmental stressors and free radicals.
Radiant and Refreshed Skin: Regular use of this serum adds a radiant glow, combating the dullness that can accompany winter weather.

Coconut Oil Hair Serum: Natural Elixir for Hydrated and Lustrous Locks
Winter’s harsh conditions can leave your hair frizzy and parched. Enter the coconut oil hair serum – a natural elixir that tames frizz, adds shine, and keeps your hair hydrated. By applying a small amount of melted coconut oil to the ends of your hair as a leave-in treatment, you can prevent dryness and promote a lustrous shine, making it a simple yet effective remedy for winter hair care.
The Wonders of Coconut Oil
Hydration Hero: Coconut oil penetrates the hair shaft, providing deep hydration and preventing moisture loss.
Frizz Control: The natural fatty acids in coconut oil help smooth the hair cuticle, reducing frizz and promoting manageability.
DIY Coconut Oil Hair Serum
Ingredients:
- Coconut oil (organic, unrefined)
Preparation:
- Melt a small amount of coconut oil by placing it in a bowl and immersing the bowl in warm water.
Application:
- Apply a small amount of melted coconut oil to the ends of your hair, focusing on areas prone to dryness and split ends.
Leave-In Treatment:
- Leave the coconut oil in your hair as a nourishing and hydrating leave-in treatment.
Why It’s Your Hair’s Best Friend
Intense Hydration: Coconut oil deeply moisturizes the hair, preventing it from becoming dry and brittle in the winter.
Natural Shine Boost: Regular use of coconut oil adds a natural sheen to your locks, promoting a healthy and lustrous appearance.
Eucalyptus Steam Facial: Invigorate Your Skin and Unwind
Combat the winter blues and refresh your skin with a rejuvenating eucalyptus steam facial. As the cold weather takes a toll on your skin, this DIY spa treatment opens up your pores and promotes a healthy, glowing complexion. By adding a few drops of eucalyptus oil to hot water and allowing the steam to envelop your face, you create a relaxing and invigorating experience that cleanses and revitalizes your skin.
The Benefits of Eucalyptus Steam
Pore Cleansing: Eucalyptus steam helps open up pores, allowing for effective removal of impurities and toxins.
Skin Refreshment: The aromatic steam refreshes and rejuvenates the skin, providing a spa-like experience at home.
DIY Eucalyptus Steam Facial
Boil Water:
- Boil a pot of water and let it cool slightly to achieve the desired steam.
Add Eucalyptus Oil:
- Mix a small quantity of eucalyptus oil into the warm water.
Drape Towel Over Head:
- Create a steam tent by draping a towel over your head, ensuring it covers the pot of hot water.
Enjoy the Steam:
- Position your face over the steam and enjoy the facial steam for 10-15 minutes.
Pat Dry:
- Gently pat your face dry after the steam session.
Why It’s Your Skin’s Best Friend
Deep Cleansing: Eucalyptus steam helps cleanse pores, preventing breakouts and promoting clearer skin.
Aromatherapy Benefits: The aromatic eucalyptus steam provides a therapeutic experience, promoting relaxation and stress relief.
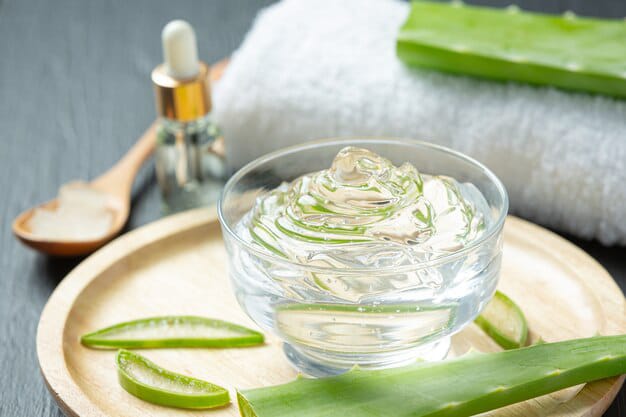
Aloe Vera Gel Cooling Mask: Soothe Winter-Stressed Skin
Calm irritated winter skin with a soothing aloe vera gel cooling mask. The cold weather can leave your skin red and irritated, but aloe vera’s natural healing properties make it an excellent choice for providing relief. Whether applied directly to your face or mixed with cucumber for an extra cooling effect, this DIY mask, when left on for 15-20 minutes, reduces redness and irritation, leaving your skin feeling refreshed and revitalized.
The Healing Power of Aloe Vera
Anti-Inflammatory Properties: Aloe vera has anti-inflammatory properties that soothe and calm irritated skin.
Hydration Boost: The gel from the aloe vera plant provides instant hydration, making it a perfect remedy for dry and stressed skin.
DIY Aloe Vera Gel Cooling Mask
Aloe Vera Gel Application:
- Apply a generous layer of aloe vera gel directly to your face.
Optional: Add Cucumber:
- For an extra cooling effect, mix the aloe vera gel with cucumber juice.
Relaxing Duration:
- Leave the mask on for 15-20 minutes.
Rinse Off:
- Gently rinse your face with cool water to reveal calm and refreshed skin.
Why It’s Your Skin’s Best Friend
Reduction of Redness: Aloe vera’s anti-inflammatory properties help reduce redness and irritation caused by winter conditions.
Instant Refreshment: The cooling sensation of aloe vera provides instant relief, leaving your skin feeling revitalized.
DIY Lavender Pillow Mist: A Tranquil Bedtime Atmosphere
Ensure a restful night’s sleep amidst the winter chill with a homemade lavender pillow mist. The calming aroma of lavender promotes relaxation, helping you unwind for a peaceful and rejuvenating sleep. This DIY mist, crafted by mixing distilled water with a few drops of lavender essential oil and spritzing it onto your pillow before bedtime, creates a tranquil atmosphere that enhances the quality of your sleep.
Lavender’s Calming Effect
Aromatherapy for Sleep: Lavender is known for its relaxing and sleep-inducing properties.
Stress Relief: The aroma of lavender helps alleviate stress and anxiety, promoting a sense of calm.
DIY Lavender Pillow Mist
Ingredients:
- Distilled water
- Lavender essential oil
Mixing Process:
- Combine a few drops of lavender essential oil with distilled water in a spray bottle.
Spritz onto Pillow:
- Spritz the lavender mist onto your pillow before bedtime.
Relax and Unwind:
- Enjoy the calming fragrance as you drift into a peaceful sleep.
Why It’s Your Sleep Companion
Improved Sleep Quality: Lavender’s soothing scent enhances the overall quality of your sleep, ensuring a more restful night.
Stress Reduction: The calming aroma helps reduce stress and promotes a sense of tranquility.

Turmeric Brightening Face Mask: Natural Radiance for Winter Skin
Combat winter dullness and achieve a natural glow with a turmeric brightening face mask. By mixing turmeric with Greek yogurt and honey to create a paste, you can apply it to your face, leave it on for 15 minutes, and rinse off to reveal brighter and more radiant skin. This DIY mask is a powerful remedy for adding a healthy radiance to your complexion, countering the dullness often associated with winter weather.
Turmeric’s Radiance-Boosting Properties
Anti-Inflammatory Action: Turmeric contains curcumin, which has anti-inflammatory properties, reducing redness and swelling.
Skin Brightening: Turmeric helps brighten the skin, providing a natural and healthy glow.
DIY Turmeric Brightening Face Mask
Ingredients:
- Turmeric powder
- Greek yogurt
- Honey
Mixing Process:
- Combine a teaspoon of turmeric powder with a tablespoon each of Greek yogurt and honey to create a paste.
Application:
- Spread the paste uniformly across your face, taking care to avoid the eye area.
Brightening Duration:
- Leave the mask on for 15 minutes.
Rinse Off:
- Gently rinse your face to reveal a brighter complexion.
Why It’s Your Skin’s Best Friend
Radiant Complexion: Turmeric’s skin-brightening properties add a healthy and natural radiance to your skin.
Anti-Inflammatory Benefits: The mask helps reduce inflammation, making it suitable for sensitive winter skin.
Jojoba Oil Cuticle Treatment: Nourish Your Nails in Winter
Keep your cuticles healthy and moisturized during the winter months with a DIY jojoba oil cuticle treatment. Massaging a small amount of jojoba oil, mixed with a drop of lavender essential oil, into your cuticles regularly prevents dryness and promotes healthy nails. This simple and effective treatment ensures that your nails remain strong and well-nourished despite the harsh winter conditions.
Jojoba Oil’s Nourishing Power
Mimics Natural Oils: Jojoba oil closely resembles the natural oils produced by the skin, making it an excellent moisturizer.
Cuticle Health: Regular application of jojoba oil helps maintain the health of your cuticles, preventing dryness and brittleness.
DIY Jojoba Oil Cuticle Treatment
Ingredients:
- Jojoba oil
- Lavender essential oil
Mixing Process:
- Mix a small amount of jojoba oil with a drop of lavender essential oil.
Application:
- Massage the oil mixture into your cuticles, ensuring they are well-nourished.
Regular Use:
- Apply the treatment regularly to maintain healthy and moisturized cuticles.
Why It’s Your Nail’s Best Friend
Moisture Lock: Jojoba oil locks in moisture, preventing cuticle dryness and brittleness.
Lavender’s Relaxing Touch: The addition of lavender essential oil provides a relaxing element to your nail care routine.
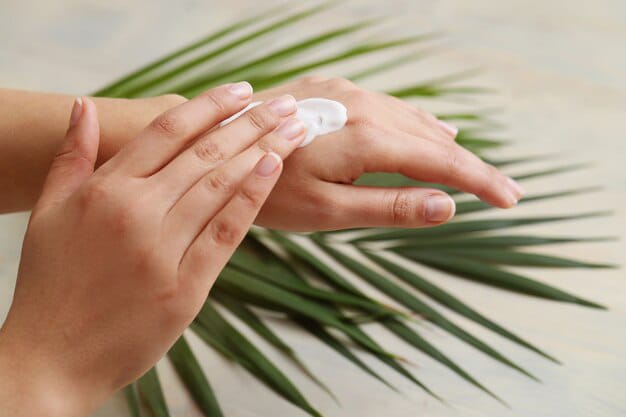
Shea Butter Hand Cream: Winter Rescue for Your Hands
Winter can be harsh on your hands, leaving them dry and cracked. Say goodbye to discomfort with a nourishing shea butter hand cream. By combining shea butter with almond oil and a hint of lavender essential oil, you can create a luxurious and moisturizing hand treatment. Regular application of this DIY hand cream becomes a winter essential, providing intense hydration to keep your hands soft and protected.
The Healing Properties of Shea Butter
Deep Moisturization: Shea butter is rich in fatty acids, providing deep hydration to dry and parched skin.
Skin Repair: It aids in the repair of cracked and damaged skin, making it a perfect winter remedy.
Lavender’s Soothing Touch: The addition of lavender essential oil brings a soothing and calming element to the hand cream.
DIY Shea Butter Hand Cream Recipe
Ingredients:
- Shea butter
- Almond oil
- Lavender essential oil
Mixing Process:
- Combine shea butter with almond oil in a bowl.
Adding Fragrance:
- Add a hint of lavender essential oil for a delightful fragrance.
Whipping Up:
- Whip the ingredients until you achieve a smooth, creamy consistency.
Storage:
- Transfer the hand cream to a clean, airtight container for easy application.
Why It’s a Winter Essential
Hydration Boost: Shea butter deeply hydrates, preventing dryness and discomfort.
Skin Protection: Creates a protective barrier, shielding your hands from the harsh winter elements.
Aromatherapy Bonus: Lavender essential oil adds a therapeutic touch, promoting relaxation.
Minty Lip Scrub: Winter Lip Care Delight
Chapped lips are a common winter woe, but you can bid them farewell with a delightful minty lip scrub. This DIY scrub combines sugar, coconut oil, and a drop of peppermint essential oil to exfoliate and plump your lips. Gently massaging this refreshing mixture onto your lips removes dead skin cells, revealing softer, smoother lips. Incorporate this minty lip scrub into your winter lip care routine for a delightful way to keep your lips smooth and kissable.
Benefits of Minty Lip Scrub
Exfoliation: Sugar acts as a natural exfoliant, removing dead skin cells from your lips.
Hydration: Coconut oil provides moisture, preventing further dryness.
Refreshing Sensation: Peppermint essential oil offers a cooling and refreshing sensation.
DIY Minty Lip Scrub Recipe
Ingredients:
- Sugar
- Coconut oil
- Peppermint essential oil
Mixing Process:
- Combine sugar with coconut oil in a small bowl.
Peppermint Boost:
- Add a drop of peppermint essential oil for a refreshing touch.
Gentle Massage:
- Delicately apply circular motions to massage the mixture onto your lips.
Rinse Off:
- Rinse your lips with warm water to reveal the smoothness.
Why It’s a Winter Lip Care Essential
Gentle Exfoliation: Removes dry and flaky skin, promoting lip softness.
Natural Hydration: Coconut oil moisturizes, preventing chapped lips.
Minty Freshness: Peppermint oil provides a refreshing sensation, invigorating your lips.
Pamper yourself this winter with these 16 DIY beauty treatments. From hydrating face masks to nourishing hair treatments, these natural remedies use ingredients like honey, coconut oil, and spices for a spa-like experience at home. Stay mindful of allergies, and customize these treatments for your skin’s needs. Enjoy the season with radiant and moisturized skin and hair!

I think this internet site has very great indited content material posts.